Advanced Tips for Church Live Streaming: Lighting, Camera Angles, and Presentation
A high-quality church live stream does more than broadcast a service—it creates an engaging and immersive experience for online viewers. While basic streaming setups can get the job done, optimizing lighting, camera angles, and presentation can significantly improve the production quality, keeping your congregation connected and engaged.
This guide explores advanced techniques to enhance your church’s live streaming setup, ensuring a visually appealing and distraction-free experience.
1. Mastering Lighting for Live Streaming
Good lighting enhances video clarity, reduces harsh shadows, and creates a welcoming atmosphere for viewers.
Best Lighting Practices:
💡 Use Soft, Even Lighting – Avoid harsh overhead lights and use softbox or LED panel lights for even illumination.
💡 Position Lights at a 45° Angle – Prevent glare and shadows by placing lights slightly to the sides of the subject.
💡 Balance Natural and Artificial Light – Match your lighting temperature (daylight or warm tones) for a consistent look.
💡 Illuminate the Background – Avoid a flat, dull look by subtly lighting the backdrop behind speakers.
A well-lit scene improves video quality and enhances the worship experience for online audiences.
2. Choosing the Best Camera Angles
Camera positioning impacts viewer engagement and immersion.
Recommended Camera Angles:
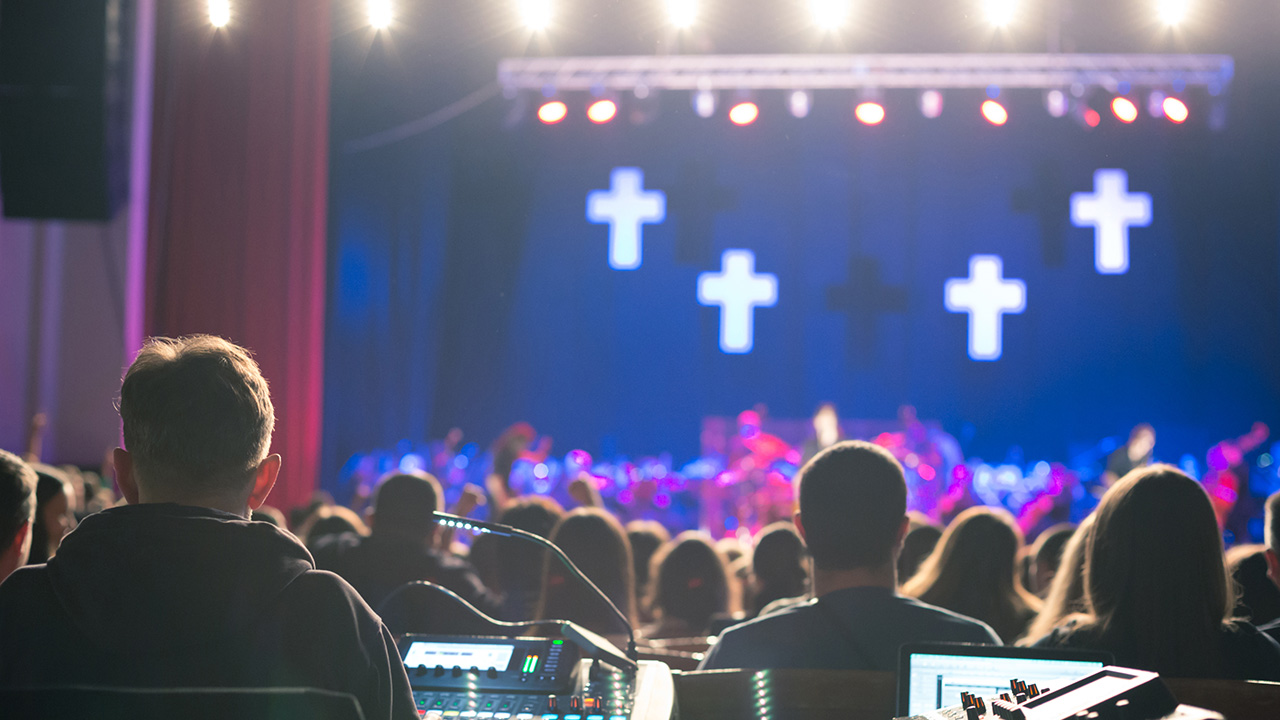
📍 Wide Shot: Captures the full stage, worship band, and speaker for context.
📍 Close-Up Shot: Focuses on the pastor or speaker for a more personal connection.
📍 Side Angle: Adds depth to the video and avoids a flat, one-dimensional look.
📍 Audience Reaction Shots: Show congregation participation to create a sense of community.
Using multiple camera angles enhances the storytelling aspect of the service.
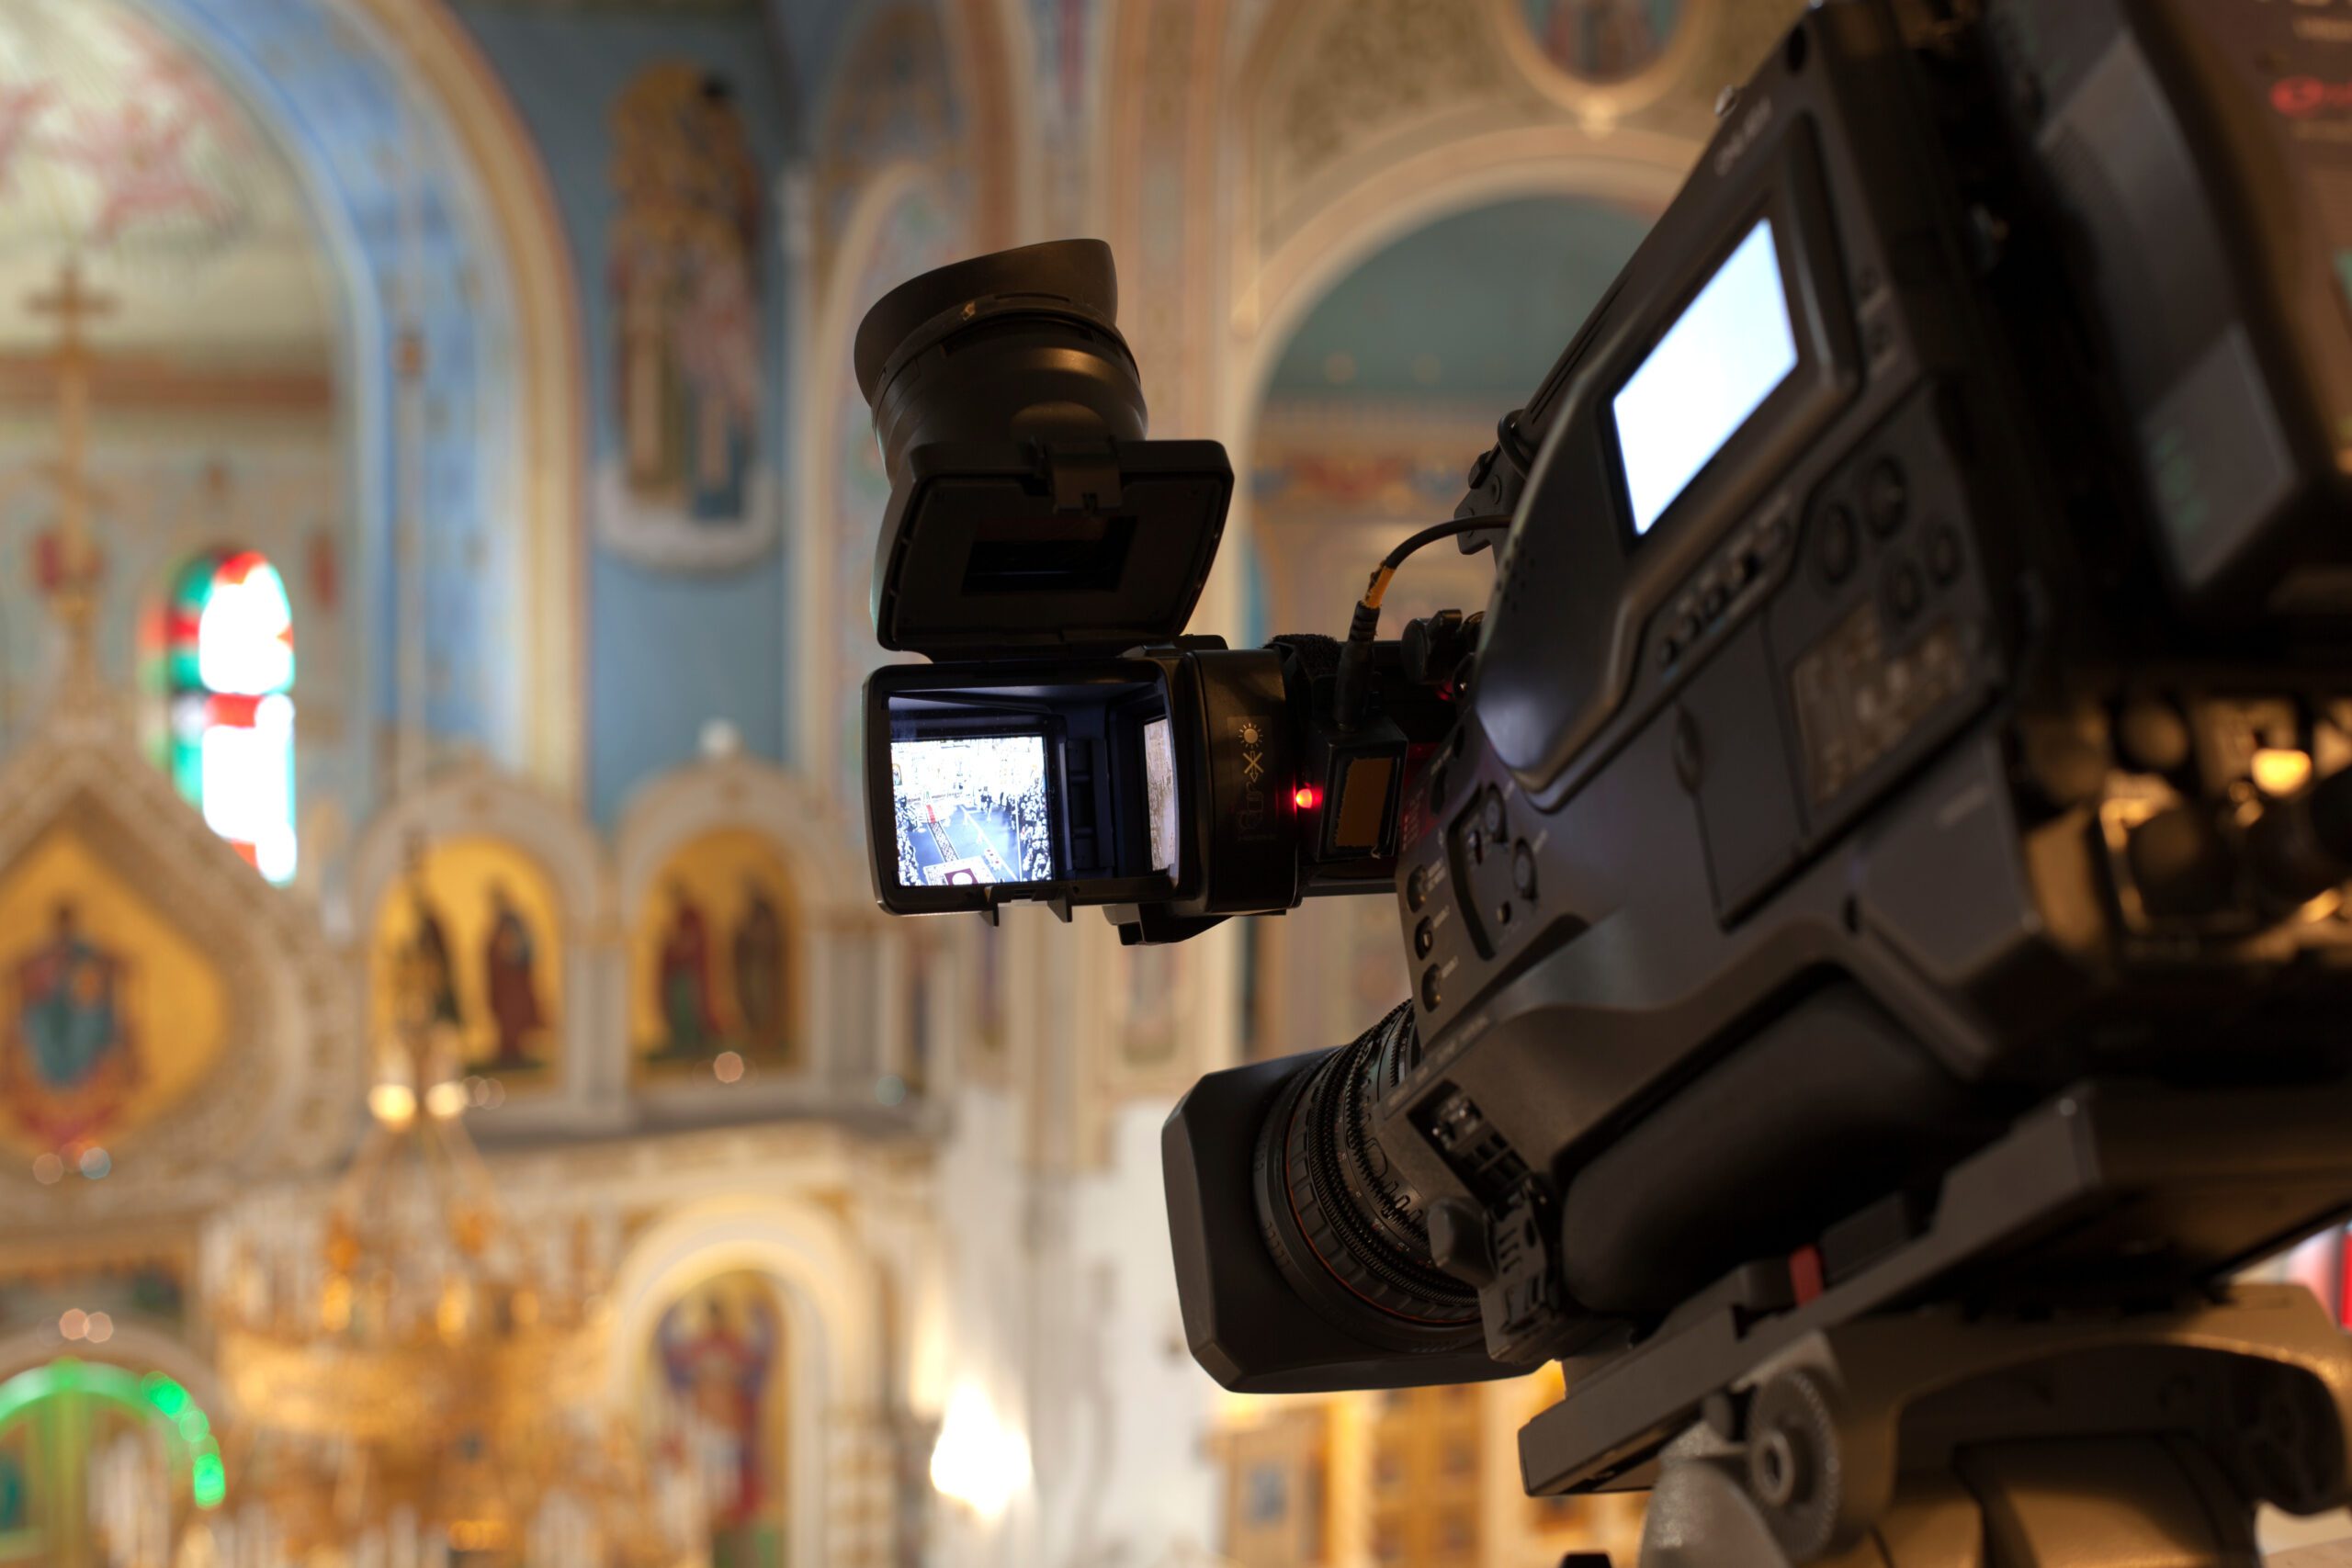
3. Optimizing Camera Settings for Live Streaming
Configuring your camera settings ensures high-quality, professional-looking streams.
Key Camera Settings to Adjust:
📷 Resolution: Stream in at least 1080p HD for clear visuals.
📷 Frame Rate: Use 30fps for smooth motion, or 60fps for higher-quality video.
📷 Aperture: A wider aperture (lower f-stop) helps in low-light settings.
📷 Focus Mode: Use manual focus to avoid autofocus distractions during movements.
📷 White Balance: Adjust for consistent color tones across different lighting conditions.
Proper camera settings prevent blurriness, lag, and exposure issues, ensuring a polished stream.
4. Enhancing Presentation for Online Viewers
Since live streaming removes the in-person connection, presentation adjustments help keep online viewers engaged.
Effective Presentation Tips:
🎤 Engage the Camera: Address online viewers directly to make them feel included.
🎤 Use Visual Aids: Display lyrics, Bible verses, and sermon points for clarity.
🎤 Minimize Distractions: Keep the background uncluttered and avoid unnecessary movement.
🎤 Encourage Interaction: Ask viewers to comment, react, or engage through live chat.
A well-prepared presentation keeps remote attendees actively participating in the service.
5. Audio Quality: Ensuring Clear and Balanced Sound
Poor audio can ruin even the best-looking stream, so sound quality should be a top priority.
Audio Best Practices:
🎙 Use External Microphones: Lavalier, handheld, or shotgun mics provide better clarity than built-in camera mics.
🎙 Balance Volume Levels: Ensure vocals, instruments, and background music are well-mixed.
🎙 Reduce Background Noise: Use noise filters and adjust mic placement for clear speech.
🎙 Test Before Streaming: Conduct sound checks to prevent technical issues mid-service.
Crisp, clear audio enhances the worship experience and ensures accessibility for all viewers.
6. Using Overlays and Graphics for a Professional Look
Well-placed overlays and graphics add professionalism to church live streams.
Recommended Graphics:
🎥 Lower Thirds: Display speaker names and sermon titles.
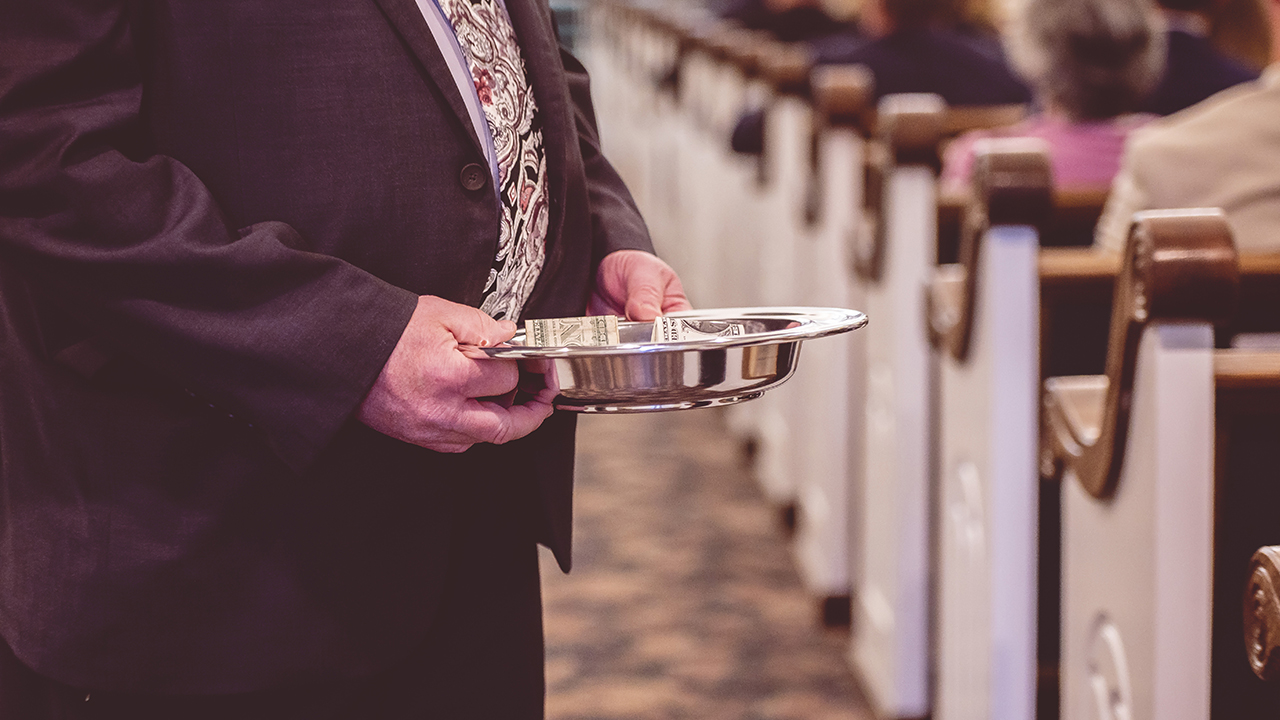
🎥 Call-to-Action Banners: Show ways to give, prayer requests, or upcoming events.
🎥 Countdown Timers: Build anticipation before the service starts.
🎥 Multistream Branding: Maintain consistent church branding across different platforms.
Professional graphics make your live stream more visually appealing and engaging.
7. Testing and Troubleshooting Before Going Live
A final test run helps prevent technical mishaps during the service.
Pre-Streaming Checklist:
✅ Check Internet Speed: Aim for at least 5 Mbps upload speed for stable streaming.
✅ Test Camera & Mic Setup: Adjust angles and sound levels in advance.
✅ Monitor Stream Health: Use a secondary device to watch the live feed.
✅ Have a Backup Plan: Prepare a secondary internet source or backup recording.
Thorough testing ensures a smooth, uninterrupted worship experience.
Conclusion
Improving lighting, camera angles, and presentation can take your church’s live streaming quality to the next level. By optimizing these elements, churches can create a professional and engaging digital experience for their online congregation.
In follow-up articles, we’ll explore advanced multi-camera setups, live streaming software recommendations, and cost-effective upgrades for improving church broadcasts.
editor's pick


News via Inbox
Stay ahead in the fast-evolving world of church technology with our Newsletter! By subscribing, you will gain access to a wealth of information and resources designed to keep you informed and empowered.