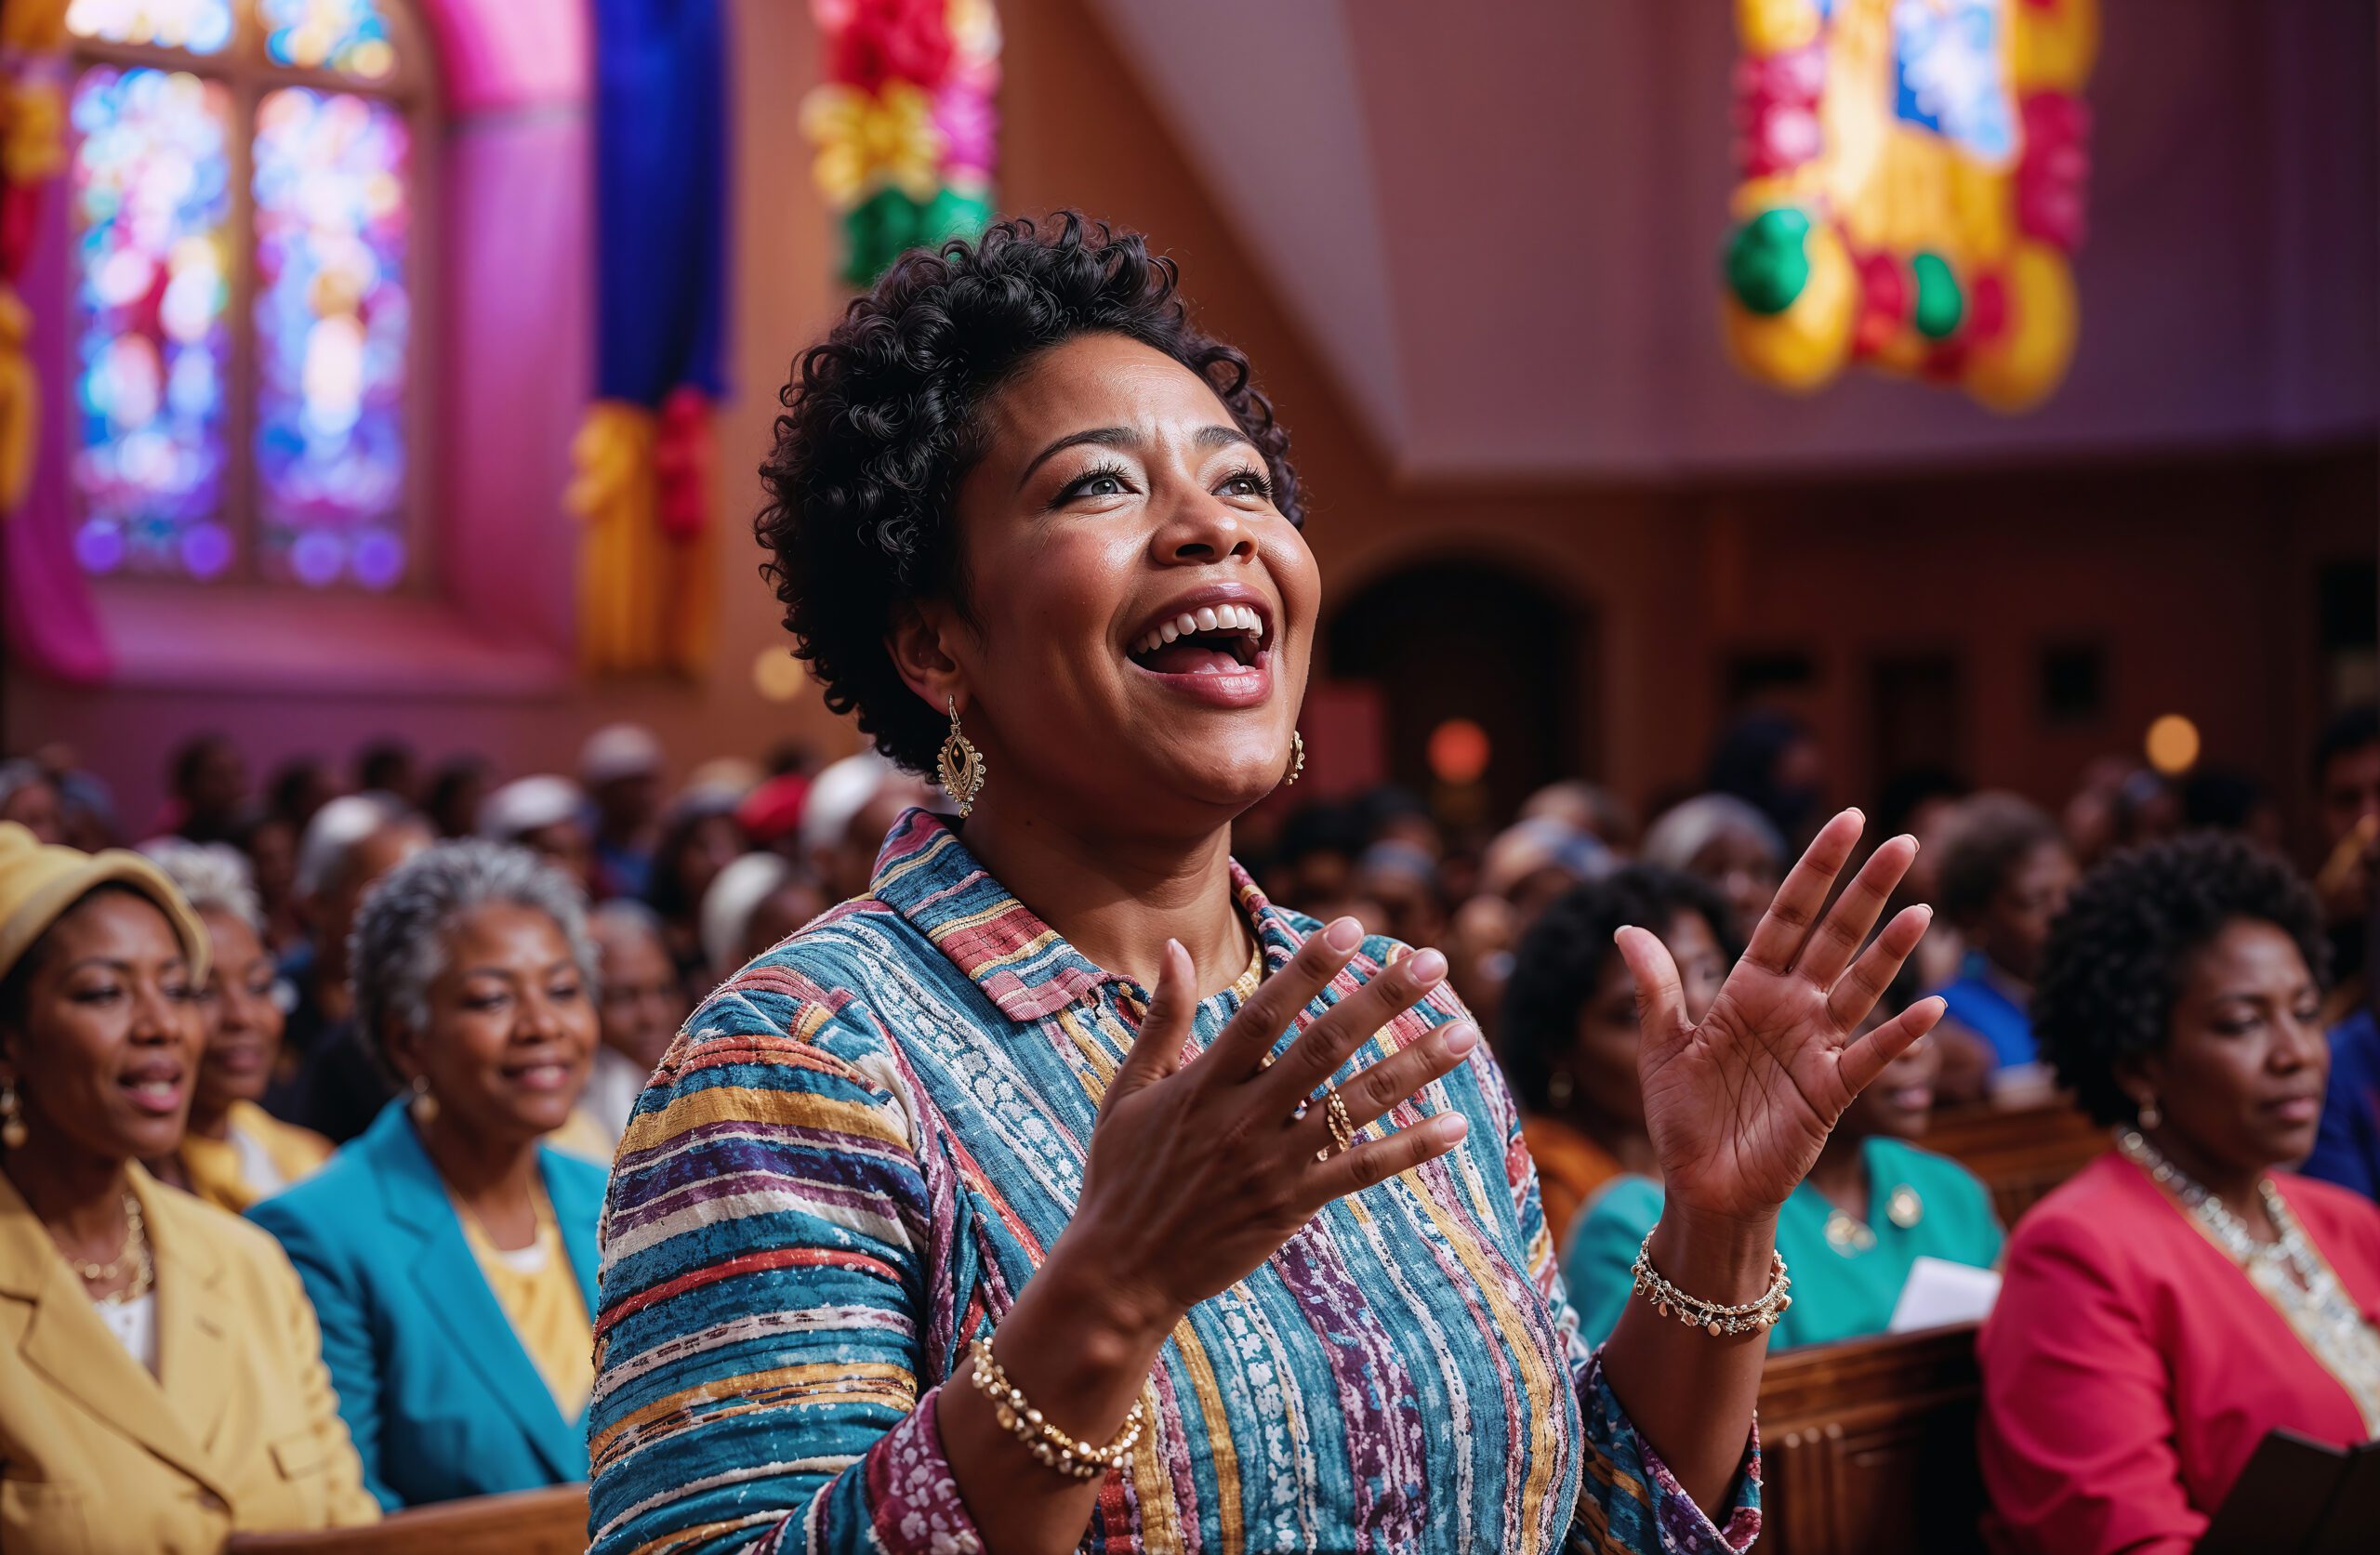
Improving Audio Quality in Church Live Streams: Tips and Techniques
Clear audio quality is essential for engaging church live streams, as poor sound can detract from the worship experience and make it difficult for online viewers to stay connected. From sermons to music, quality audio ensures that all aspects of a church service are heard clearly and effectively. This guide provides practical tips and techniques for improving audio quality in church live streams, helping you create a more impactful and immersive worship experience for your virtual audience.
1. Invest in Quality Microphones
The foundation of good audio begins with reliable, high-quality microphones. Choosing the right type of microphone for different aspects of the service, from the pastor’s sermon to the worship team’s performance, is key to achieving clear and consistent sound.
Types of Microphones to Consider:
- Lapel Microphones: Lapel or lavalier mics are ideal for pastors and speakers as they offer hands-free operation and capture voice clearly without background noise.
- Handheld Microphones: Handheld mics work well for worship leaders or those who need flexibility. They provide strong sound isolation and can be used for speaking or singing.
- Instrument Mics: For live music, use specialized mics designed to capture instruments such as drums, pianos, or guitars. Condenser mics are often preferred for their ability to capture detailed sound.
Investing in the right microphones ensures consistent, clear audio for all service elements, from sermons to worship music.
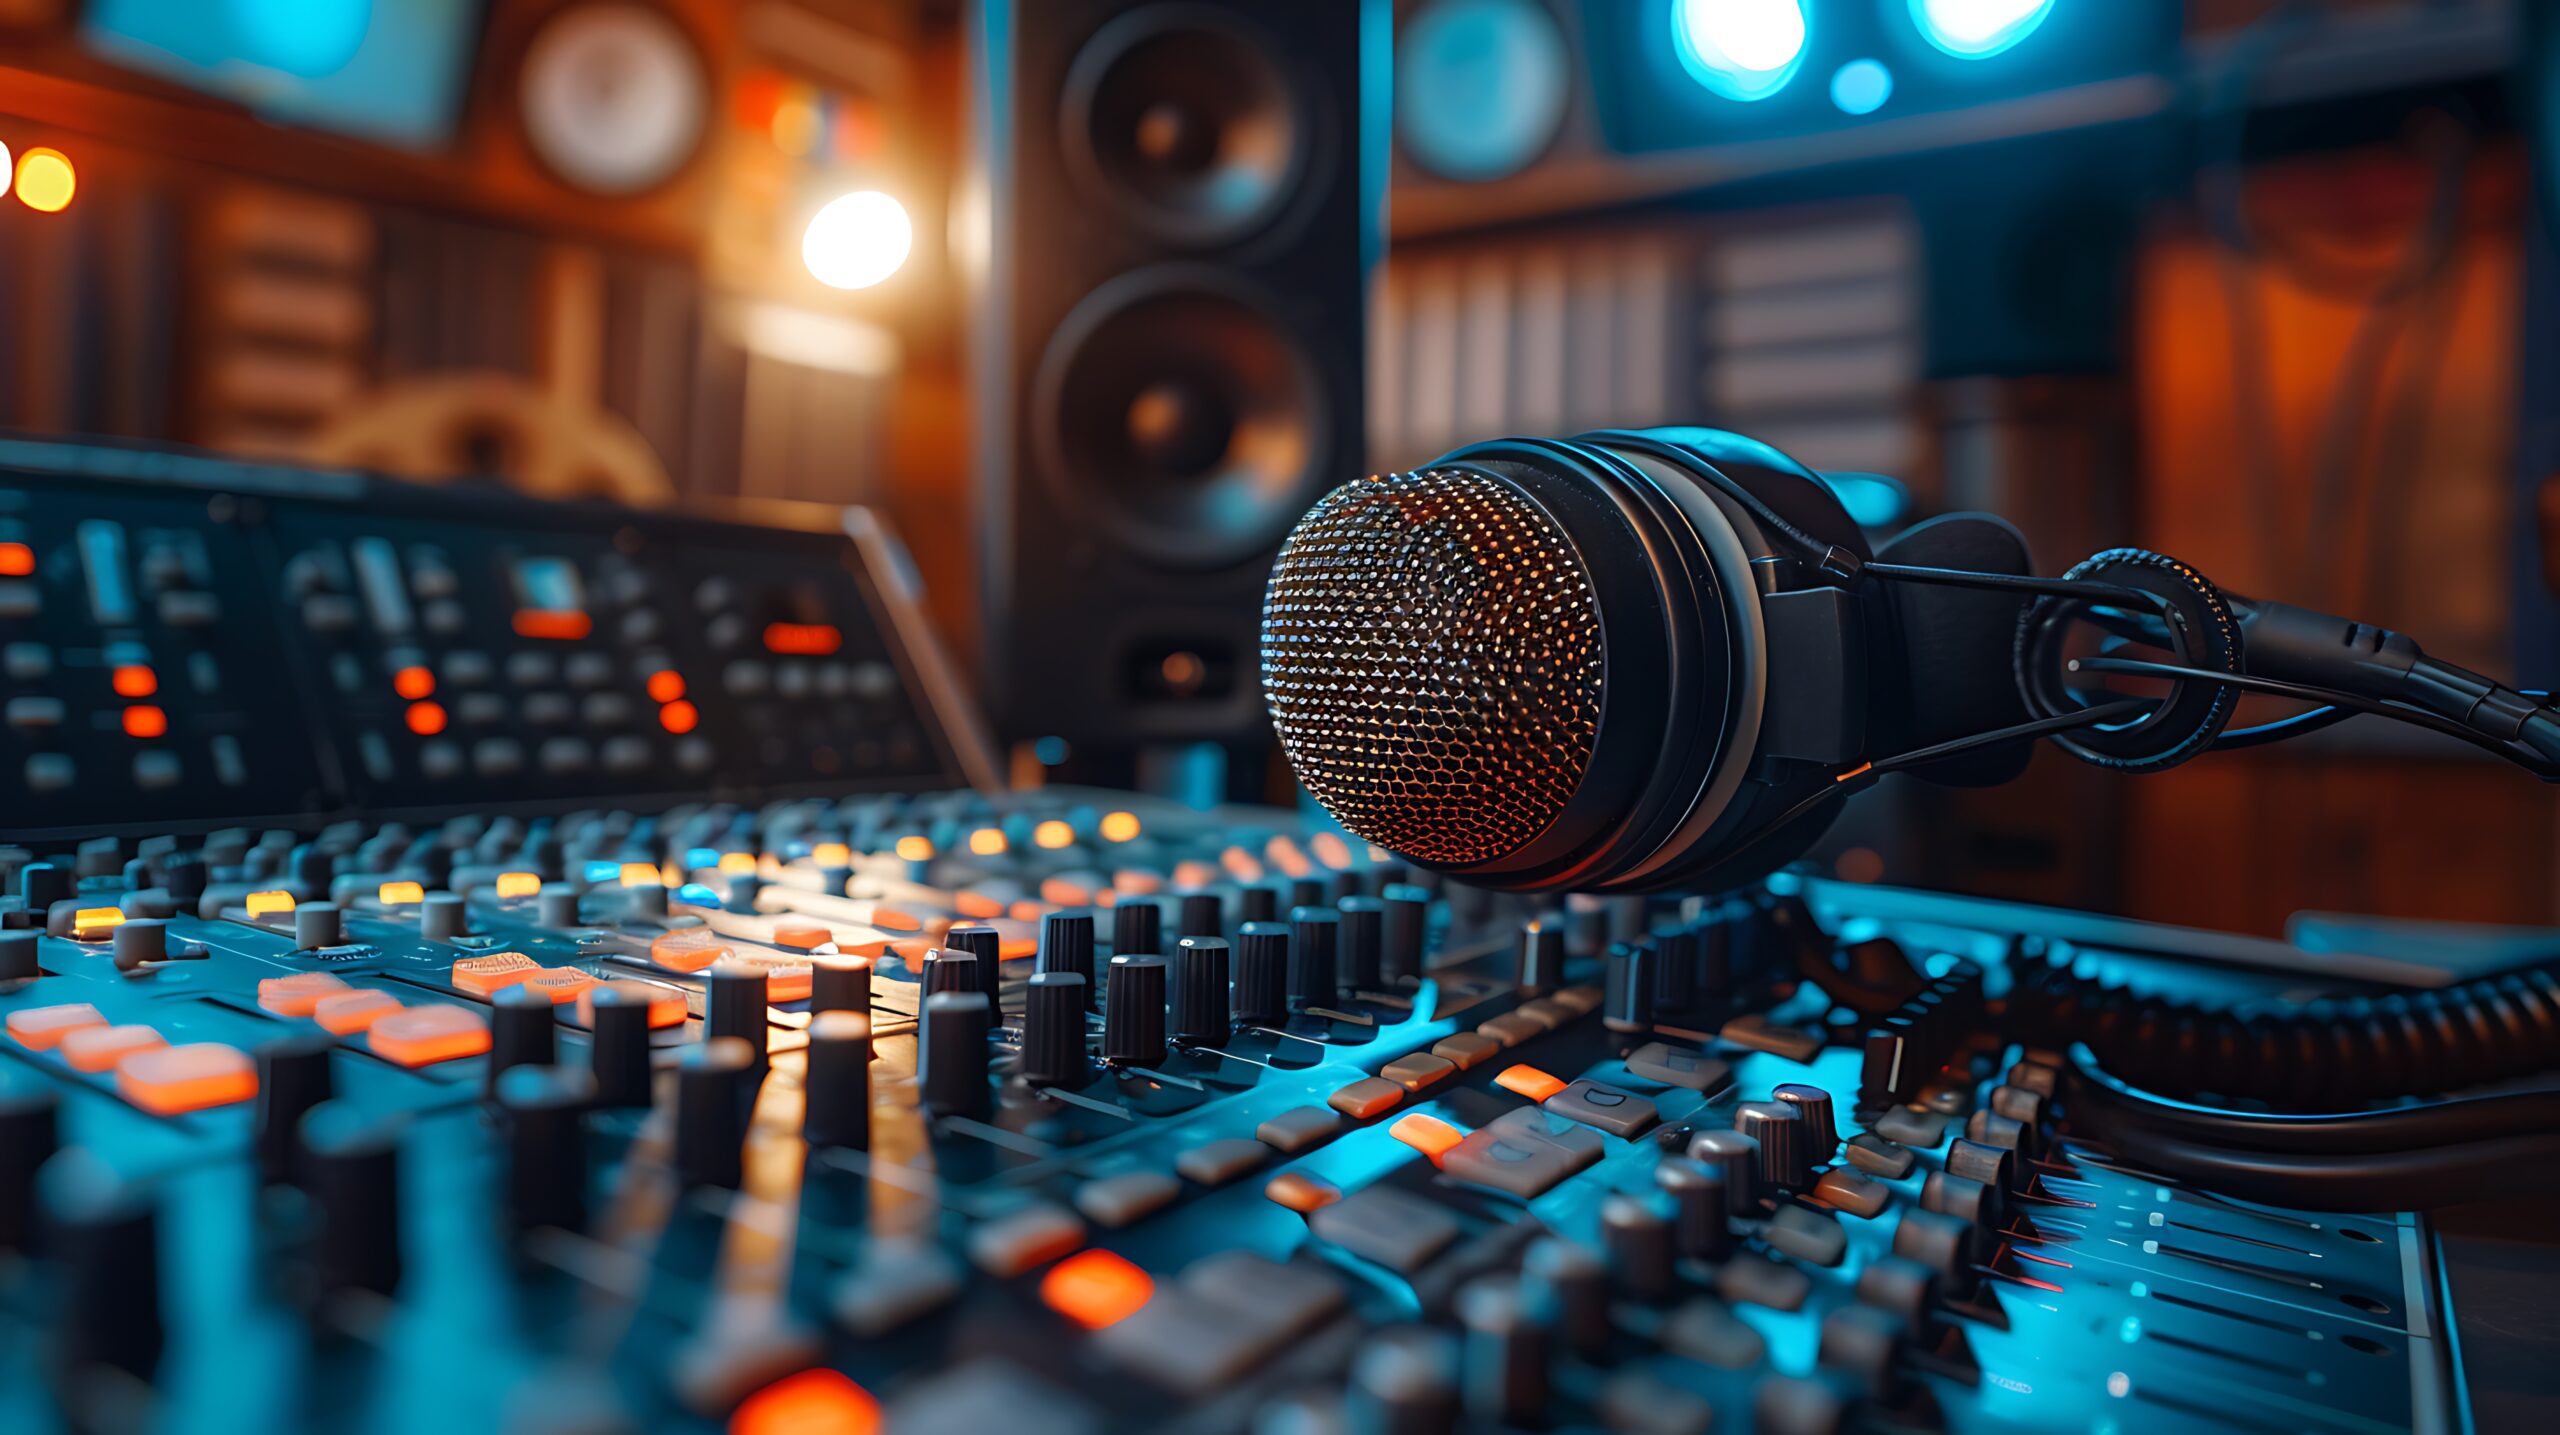
2. Utilize an Audio Mixer for Balanced Sound
An audio mixer allows you to adjust sound levels, balance different audio sources, and eliminate background noise for a polished audio experience. With a mixer, you can manage multiple microphones, instruments, and even pre-recorded audio.
Tips for Using an Audio Mixer:
- Equalize Sound Levels: Use the mixer to balance sound levels across different microphones and instruments, ensuring no single audio source overpowers others.
- Reduce Background Noise: Use the mixer’s equalizer to cut out low-frequency hums or other unwanted background sounds.
- Monitor Audio in Real Time: Listen to the audio feed through headphones to catch any audio issues as they arise and make adjustments as needed.
An audio mixer gives you more control over sound quality, allowing you to create a clear, balanced listening experience for online viewers.
3. Control the Acoustics in Your Space
The acoustics of the worship space have a significant impact on audio quality, especially when capturing live music. Hard surfaces can cause echo and reverberation, which can make the audio sound muddy or distorted in live streams.
Acoustic Optimization Techniques:
- Minimize Echo with Sound Absorption: Use sound-absorbing materials like carpets, curtains, or acoustic panels to reduce echo and reverberation.
- Position Microphones Carefully: Place microphones closer to speakers or instruments to capture direct sound and reduce the impact of ambient noise.
- Consider Portable Acoustic Shields: For smaller worship spaces, portable acoustic shields can be placed around microphones to minimize unwanted noise.
Controlling acoustics reduces echo and enhances clarity, ensuring that each voice and instrument comes through clearly on the live stream.
4. Adjust Settings for Live Music and Spoken Word
Different aspects of a service require different audio settings. Sermons and live music have unique sound characteristics, so adjusting settings for each can improve overall quality.
Tips for Music and Voice Settings:
- For Spoken Word: Emphasize mid-range frequencies to improve vocal clarity and use compression to even out volume fluctuations.
- For Music: Increase bass frequencies for richness and depth, especially in worship music, while balancing higher frequencies to prevent distortion.
- Use Reverb Sparingly: A small amount of reverb can add warmth, but too much can muddy the sound. Adjust reverb based on the type of music or voice being broadcast.
Tailoring settings for each part of the service ensures that both spoken word and music sound their best in the live stream.
5. Reduce Background Noise with Noise Gates
A noise gate is a useful tool for eliminating unwanted sounds, such as room hums or background chatter, that can interfere with the primary audio feed.
How to Use Noise Gates:
- Set a Threshold Level: Configure the noise gate to open only when sounds reach a certain volume, filtering out quiet background noise.
- Apply to Ambient Mics: Use noise gates on microphones that pick up ambient sounds, such as audience mics, to keep background noise minimal.
- Test and Adjust: Noise gate settings may vary based on the environment and equipment, so test and adjust thresholds before each service.
Reducing background noise enhances the focus on primary audio sources, allowing the service to be heard more clearly.
6. Consider Using Audio Processing Software
Audio processing software can help enhance and refine your live stream’s sound quality. Tools like Adobe Audition, Audacity, or plugins like Izotope RX offer audio cleanup and enhancement features that can elevate the overall audio experience.
Benefits of Audio Processing Software:
- Noise Reduction Tools: Many audio programs include noise reduction tools that can eliminate persistent hums or background noise.
- Compression and EQ Plugins: Use plugins to adjust equalization (EQ) settings and compression, creating a balanced sound.
- Real-Time Audio Effects: Some software allows for real-time effects that can improve audio clarity and make live sound adjustments easier.
Audio processing software is an effective tool for polishing audio quality, especially for more complex live-streamed services.
7. Test and Monitor Audio Quality Regularly
Regular testing and monitoring are crucial to maintaining high audio quality. By checking sound levels and clarity before each service, you can identify and fix potential issues before the stream goes live.
Best Practices for Testing Audio:
- Perform Sound Checks: Conduct sound checks before every service to verify microphone levels, mixer settings, and the overall audio balance.
- Monitor with Headphones: Use headphones to monitor the audio feed in real time and make adjustments as necessary.
- Seek Feedback from Online Viewers: Occasionally ask for feedback from online viewers on audio quality, as they may notice issues that aren’t apparent in-house.
Consistent testing and monitoring help ensure that every live stream delivers clear, high-quality audio for an engaging worship experience.
Conclusion
Improving audio quality in church live streams is essential for creating an immersive and engaging worship experience for online viewers. By investing in quality microphones, optimizing acoustics, using an audio mixer, and implementing tools like noise gates and audio software, churches can significantly enhance sound quality and minimize distractions.
In follow-up articles, we’ll dive deeper into audio techniques for specific service elements, such as optimizing music and sermon audio for live streams and using advanced audio processing tools for professional-quality sound.


News via Inbox
Stay ahead in the fast-evolving world of church technology with our Newsletter! By subscribing, you will gain access to a wealth of information and resources designed to keep you informed and empowered.